If you want to start selling on Amazon, the very first step is opening an Amazon Seller Central account. The process is straightforward, but it helps to know exactly what Amazon needs so you can get approved without delays.
Here’s a simple, human-friendly guide to walk you through everything.
1. Choose Your Seller Plan
Amazon gives you two choices when signing up:
Individual Seller Plan
- No monthly fee
- Small fee per sale
- Good for beginners selling a few items
Professional Seller Plan
- Monthly subscription
- Advanced tools and analytics
- Best for serious sellers and businesses
You can start as an Individual and upgrade anytime.
2. Gather the Documents You Need
Before creating your account, make sure you have:
- A valid email address
- Phone number
- Government ID (passport or driver’s license)
- Bank account (for payouts)
- Credit or debit card
- Tax details (individual or business)
- A business address
Having these ready will make the process smooth and fast.
3. Visit Amazon Seller Central
Go to the official Amazon Seller Central website and click “Sign Up” or “Register”.
You’ll be asked to log in with your regular Amazon account or create a new one specifically for selling.
4. Enter Your Business Information
Amazon will ask for:
- Legal name
- Business type (individual or company)
- Address
- Contact details
Make sure the information matches your documents to avoid verification problems.
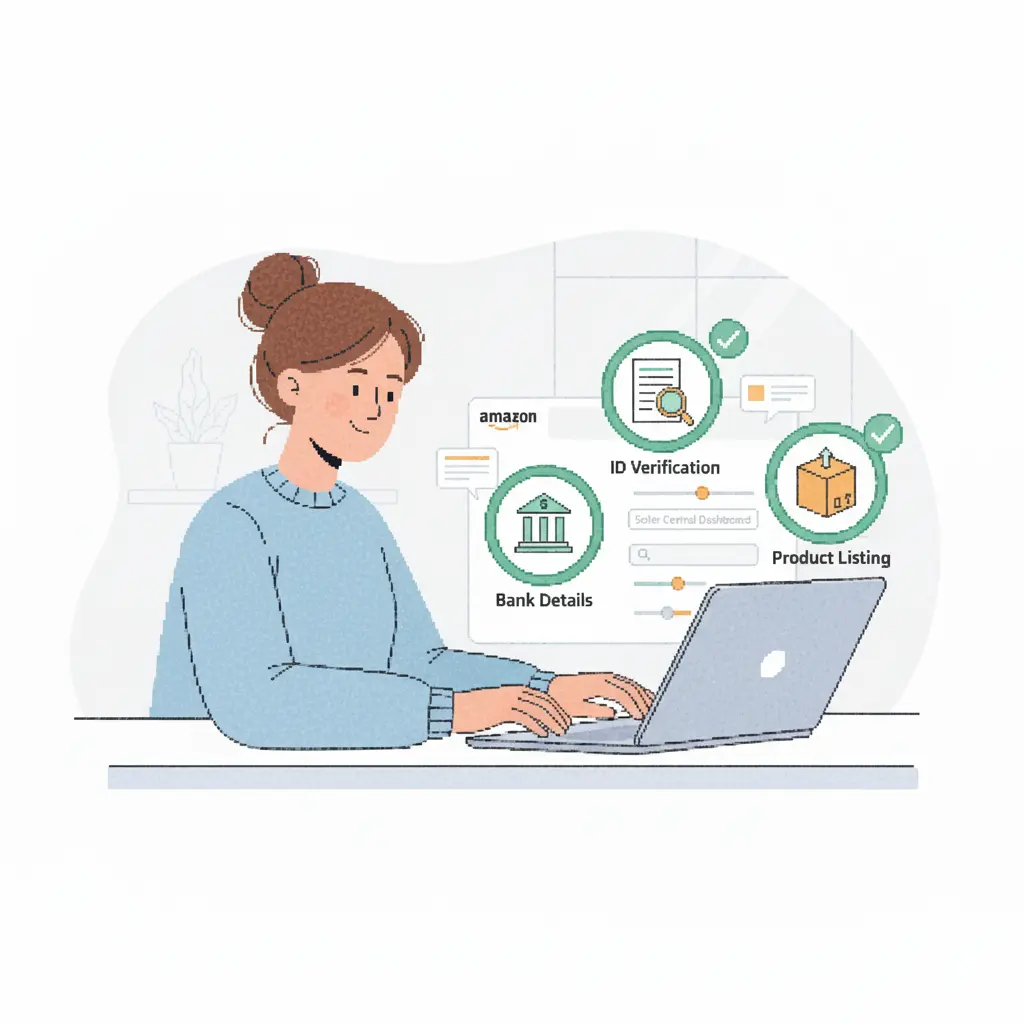
5. Verify Your Identity
Amazon requires identity verification for security.
They may ask you to upload:
- A photo of your ID
- A bank statement
- A selfie or short video verification
- Proof of address
Complete the steps carefully—approval usually takes a short time if everything is clear.
6. Set Up Your Seller Profile
Once verified, you’ll set up your Seller Central dashboard:
- Create your store name
- Enter your return address
- Add your bank details
- Adjust your shipping settings (FBM sellers only)
Your store name will be visible to buyers, so choose something professional and easy to remember.
7. Start Listing Your Products
After your account is approved, you can list your first item.
You’ll need to add:
- Product title
- Photos
- Description
- Keywords
- Price
- Condition
If the product already exists on Amazon, you can simply match it.
If it’s new, you’ll create a full listing.
8. Choose How You Want to Fulfill Orders
You have two options:
Fulfillment by Amazon (FBA)
Amazon stores, packs, ships, and handles customer service.
Fulfillment by Merchant (FBM)
You handle storage and shipping yourself.
Both options work — choose what fits your business model.
Final Thoughts
Opening an Amazon Seller Central account is the first big step toward becoming an Amazon seller. As long as you have your documents ready and follow the steps slowly, the process is quick and smooth.
Once your account is approved, you’re ready to list products and start selling to millions of customers.